


Hi Community members,
Are you a brand-new Sales Navigator user? Or, you’re not new, but you still think there’s more for you to know about this platform? Then, this is the right post for you!
Today, I’m sharing the top 4 main things you should know in order to get started in Sales Navigator! These are the most important steps you need to complete, so that you can fully set up your Sales Navigator license and ensure you’re using it to its full potential.
So, how do you start? Just go through the steps below:
Step 1: Start with Activation and Set up
The first thing you, and your colleagues, need to do is activate your account. Here’s how you can do it:
- If you haven’t activated your account yet, first, check your inbox and look for an email with the title ‘’Get started by activating your account’’.
- Once you find it, you need to click ‘’Activate your account now’’
- You might be prompted to add your work email address to LinkedIn.com, if you don’t have it in your account yet. We’re asking this to make sure we’re assigning the license to the right person.
Step 2: Set up your Sales Preferences
Once you activated your account, the next step is to set up your sales preferences. These preferences are the criteria you set to let Sales Navigator know what types of leads you want to see based on region, industry, function, and seniority level. You can select multiple preferences and Sales Navigator will use saved preferences to surface lead recommendations based on your interests.
Here’s how you can do it:
- In Sales Navigator, hover over Discover and select Edit your sales preferences.
- Scroll down to the Sales Preferences section. Enter or select your target Geographies, Industry, Company Size, Function, and Seniority level. Click Done in each category to save your updates.
- If one of your selections no longer applies, uncheck and click Done.
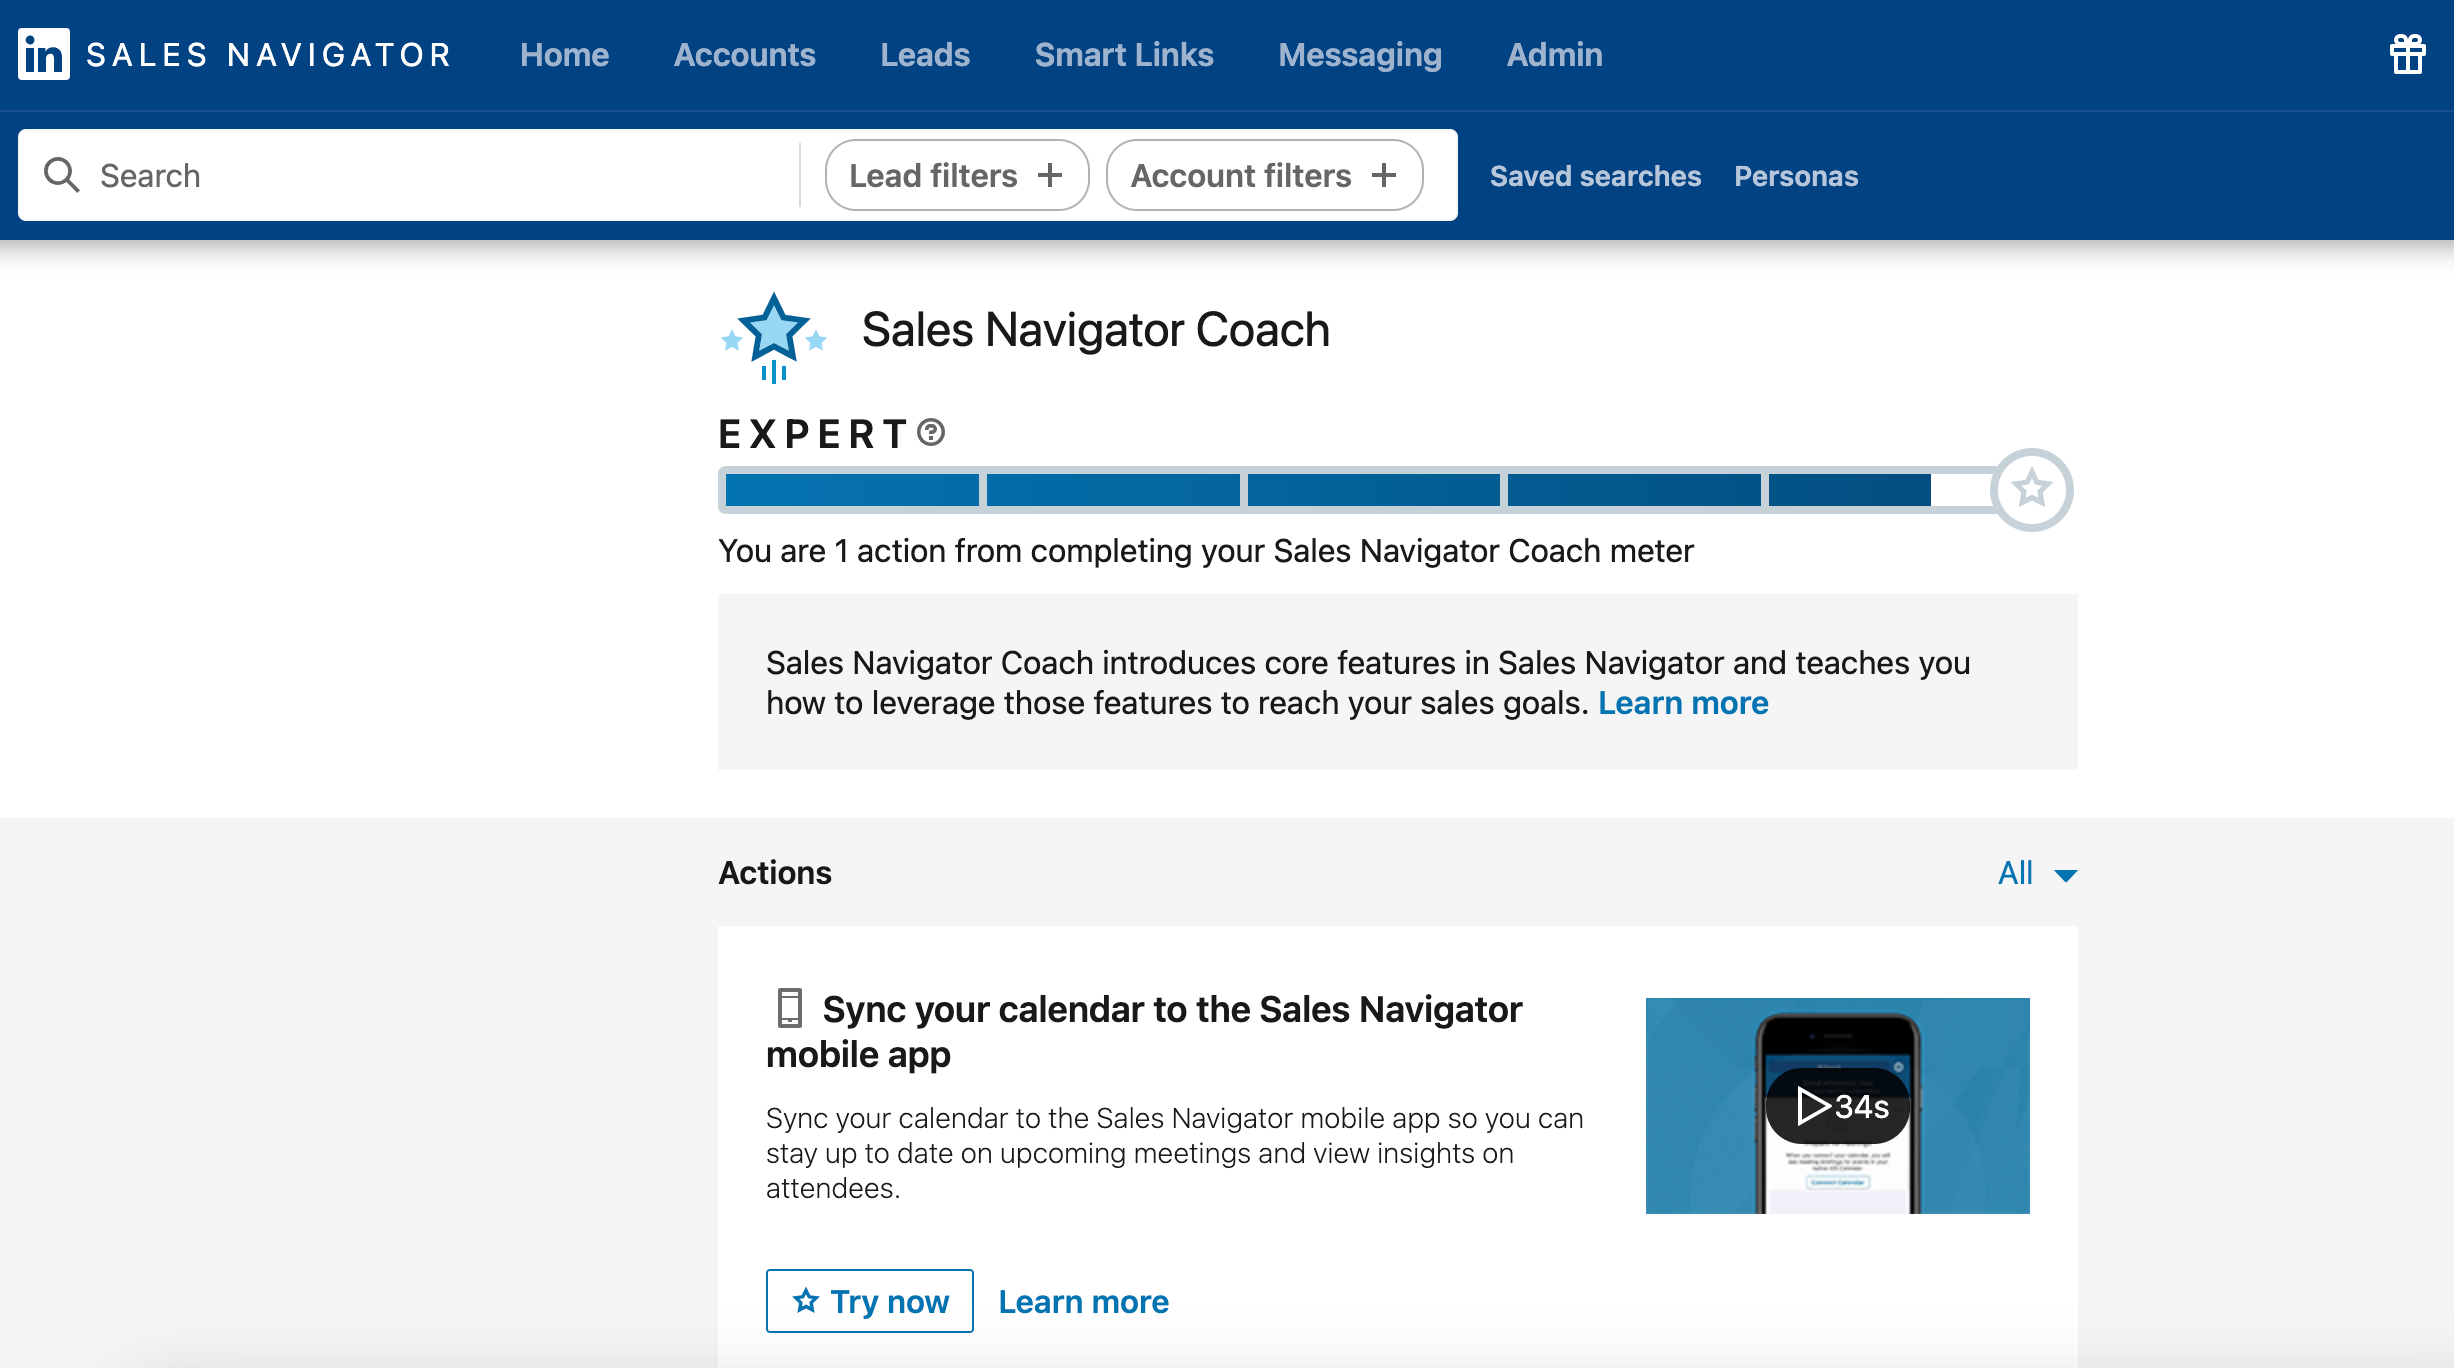
STEP 3: Access your Sales Navigator Coach
Sales Navigator Coach is the easiest way to discover and learn how to use Sales Navigator's most powerful tools and features. This will include a progress meter that measures your level of Sales Navigator mastery. The 5 levels are:
- Beginner
- Intermediate
- Proficient
- Advanced
- Expert
How can you level up your coach meter?
- To start leveling up, select one of the recommended action items and click Try now. Complete new actions to progress to the next level!
- Not sure how to complete an action? Click Watch video to view a quick demo
- To view all possible actions within Coach (and to see which actions you've already completed), click See all actions
Visit your Coach dashboard!
- To view your Coach dashboard, click See all actions from the Coach module in the homepage or click here
- The dashboard shows you all of the possible actions within Coach in a single page. You can also filter by actions you've completed (blue) or have not yet completed (white)
- Click Learn more next to each action to view a tip sheet for that action
Step 4: Sign up for training!
The last thing you should do is make sure you’re signing up for an introductory training that will help you learn how to get the most out of Sales Navigator.
- Complete the free Learn LinkedIn Sales Navigator Course on LinkedIn Learning hosted by the incredible @Donna Alexander
Once you’ve completed all 4 steps, you’ll feel more comfortable and ready to start using Sales Navigator on a daily basis.
Let me know if these steps helped you activate your account and, additionally, if there's any other step that we’re not including here, but has made a positive impact in your Sales Navigator adoption.
Thank you and enjoy!
Nádia


